How To Build Or Renovate A Little League Pitching Mound
By Matt Freeman·

How to Build or Renovate a Little League Pitching Mound
A regulation Little League 6” pitching mound is a 10 foot circle. Then center of the mound should be 45’ from the back point of home plate. Run a string line from the back corner of home plate over the top of the pitching rubber and through the center of 2nd base to the back corner to line up the bases and pitching rubber. The pitching rubber should be raised 6” above home plate. The mound slope should begin 4” from the front of the pitching rubber dropping 1” every foot towards home plate.
TOOLS NEEDED
|
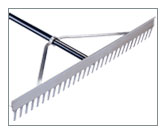
Landcape Rake |
Scoop Shovel |
Spearhead Shovel |
Flathead Shovel |
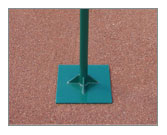
Hand Tamp |
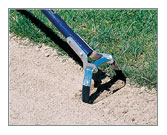
Hula Hoe |
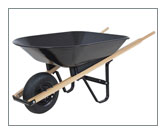
Wheelbarrow |
|
|
|
|
|
|
|
|
|
|
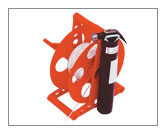
150' String |
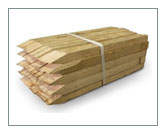
(8) 16" Wood Stakes |
|
Access To Water |
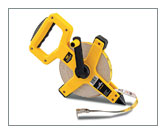
Tape Measure |
Pencil |
|
|
|
|
|
|
||
|
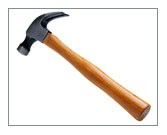
Hammer |
Tractor Or Utility Vehicle |
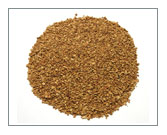
Pro's Choice Conditioner |
|
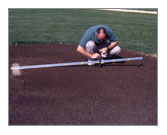
Mound Slope Gauge |









STEPS
1. With an existing mound you want to rake up any existing topdressing and remove it. Depending on how much material your current mound is made up of you may need to remove some of the existing material.
2. Determine the center of the mound by placing stakes at the back point of home plate and just beyond the back corner of the second base bag. Run a string line from the back edge of home plate over the top of the pitching rubber and through the back corner of second base. Measure 45’ from the back point of home plate along the string line. This is the center of the mound. Draw a 10’ circle using this point as the center.
3. Establish the placement of the pitching rubber. Use a string line to measure 46’ from the back point of home plate and mark with a stake. This is where the pitching rubber should be placed.
4. Mound height: Use a transit level to establish the height of the mound. First take a reading off of home plate. The top of the pitching rubber should be 6” above home plate. Put stakes on each side of the mound and mark the 6” elevation. If you don’t have a transit move your string line 6” above the ground on the stakes behind home plate and second base.
5. The table area around the rubber should be established next. It is the flat area of the pitchers mound around the pitching rubber. The table should be 40”x17” with the rubber centered 12” from the front of the table box. Use four stakes to mark the area of the box.
6. Align the pitching rubber by marking the center of the rubber with a pencil. Put the rubber up against the stake placed at 46’. The top of the rubber should touch the string at 6” high. Line the center mark up with the string line running from the back corner of home plate through the back corner of 2nd base. To square up the rubber measure from the right and left corners of home plate. Each should measure 45’2”. Use a bubble level to check the level of the rubber. Make adjustments by adding or taking clay away from the base. Make sure to tamp the area firm before putting the rubber back in.
7. Construct the table using Pros Choice Easy Mound clay. You will want to combine your new clay with your existing material. To do this put down approximately 1” of new material at a time. Then use a small tiller like a Mantis or Yard Boss to incorporate the materials together. Using a tamp you will flatten the area. The pitching rubber should be level with the clay.
8. Construct the slope using Pros Choice Easy Mound clay. You can also use Pros Choice Easy Mound bricks in your high wear areas in front of the rubber and in the landing area. Begin adding clay and compacting. The slope should begin 4” in front of the pitching rubber dropping 1” per 1’ toward home plate. Use a mound slope gauge to accurately measure the drop.
9. Always build in layers 1” at a time packing the Easy Mound clay tight with your hand tamp.
10. Once the slope has been built begin filling in the back and sides gradually sloping to the edge of the circle. You can use a vibra-plate compactor to firm up these larger spaces.
11. Use a rake to level the entire surface of the mound and then begin adding Pros Choice conditioner. Cover then entire surface of the mound with conditioner. Rake it in but be careful not to dig in with the tines. You only want to use the rake to distribute the conditioner evenly across the surface.
12. Water down the mound and cover with a tarp. Remember to always keep your mound covered when not in use.